Adding Include Page to Insert Menu
This only works for Expression Web 2.0. The Include Page command has been restored but it is not part of the default Insert Menu. This is easily corrected.
For Expression Web 3.0 and 4.0 users: the only way to access the include page command is by using a code snippet OR the standard toolbar.
For Expression Web 1.0, the include page command is available from the Insert Menu.
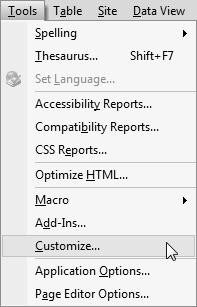
Step 1: Go to the Tools Menu and select Customize.
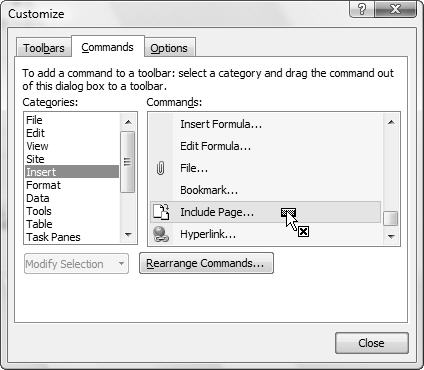
Step 2: Select the Commands tab > select the Insert Category in the left hand panel > in the right hand panel scroll down to the bottom Commands panel to the Include Page command. Left-click this command and drag it to the top Insert menu. Drop it wherever you want.
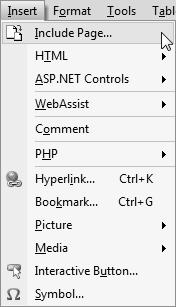
You now have an Include Page choice as part of your Insert Menu
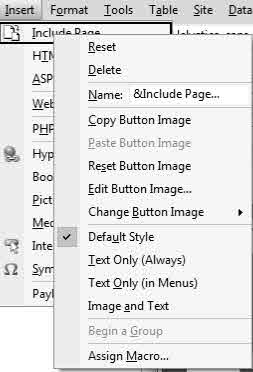
To Remove or Rearrange Menu Items
You can remove or rearrange your menu items by selecting Tools > Customize > Rearrange Commands

Select Menubar > choose the Menu Item > Highlight the Command > Choose Remove or Move Up or Down
OR
Tools > Customize > Highlight the Menu Item > Right click the choice and choose Delete