Expression Web and Design Time Includes
Any time you have a lot of repeated content in a website - things like page headers, page footers and navigation menus or even areas of content - you can use Expression Web includes. Include files are separate pages of HTML code that contain things like the items just mentioned; content that is intended to be used on many different pages.
Expression Web 4.0: The Include Page option is available from the 'Standard Toolbar' or you can create a code snippet. If you do NOT have a page open, you will not see the Include Page option.

IMPORTANT NOTE: An Expression Web Design Time Include needs to be a complete HTML page. It requires an opening and closing <html tag> as well as an opening and closing <body> tag.
Step-by-Step Instructions - Create A Design Time Include using Expression Web
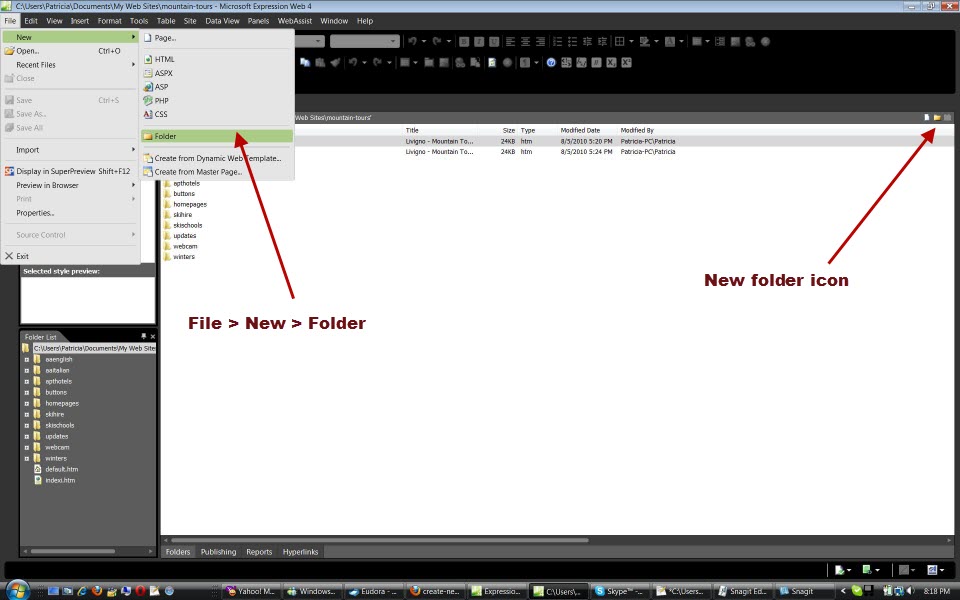
Step 1 - Create a folder within your website to store your include pages. On the 'Web Site' Tab (EW 1.0 and 2.0) 'Site View' tab (EW 3.0 and 4.0) click the 'New Folder' icon and create a folder named _includes. The leading underscore is optional. You can also use File > New > Folder
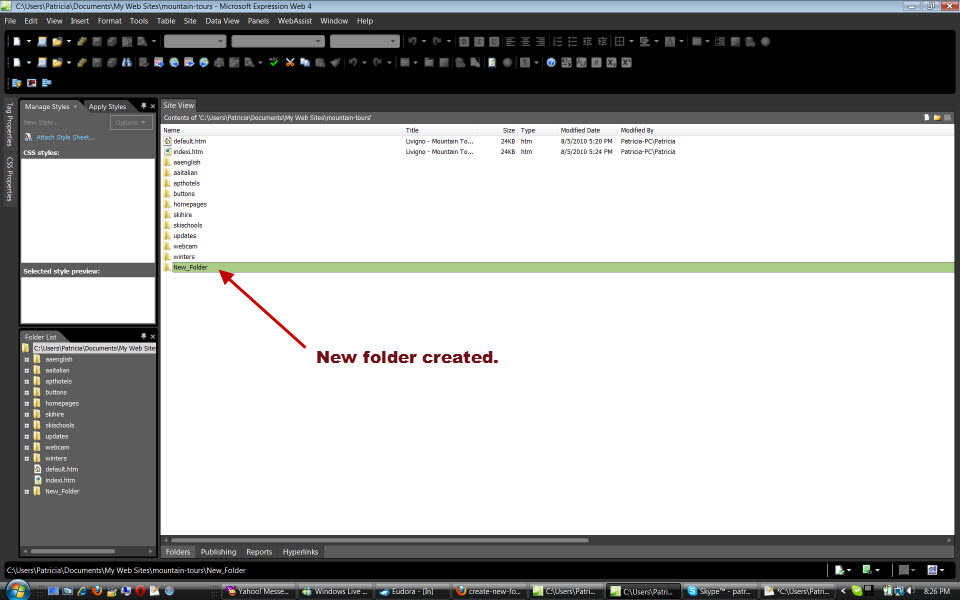
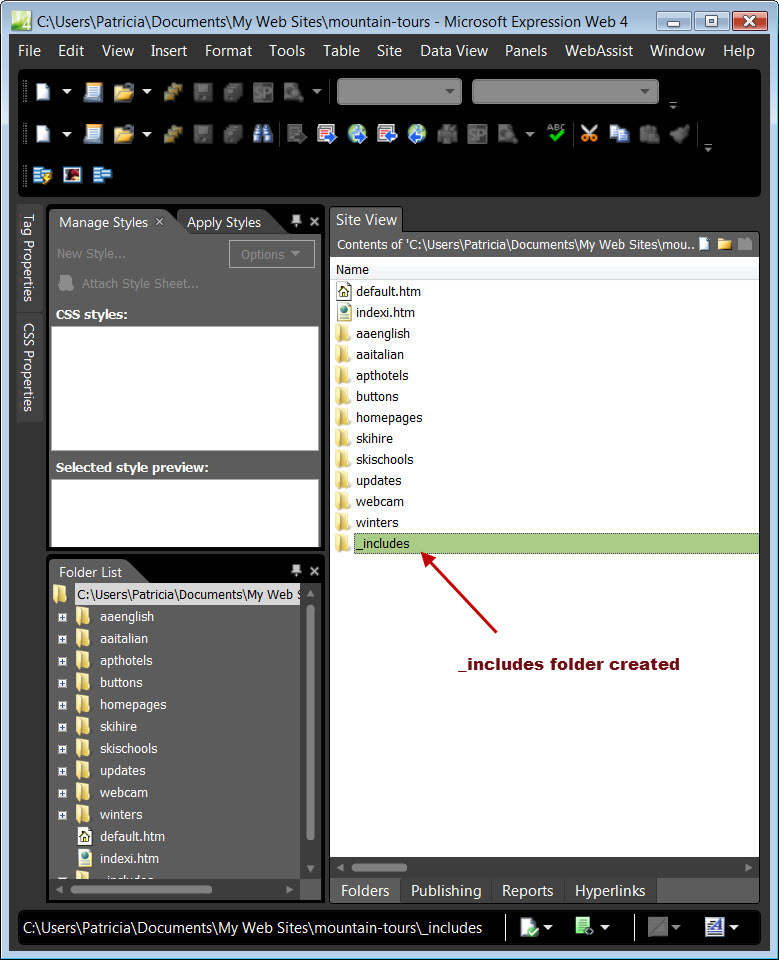
The new folder is created. Hit the backspace key and type _includes for the name
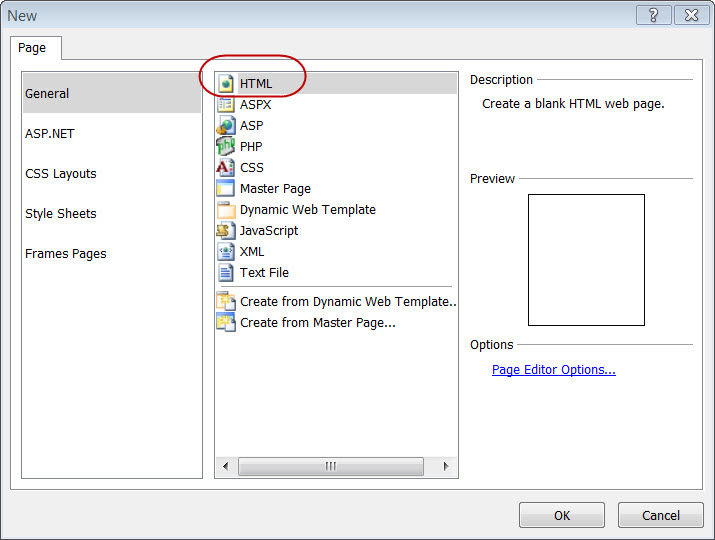
Step 2 - Create a New Page using the new page icon or File > New > Page
From the dialog box Choose General > HTML > Click OK
Step 3 - In 'Design' View, enter the content you want on the included page. The example uses a contact and copyright information.
Step 4 - Save your newly created page File > Save As
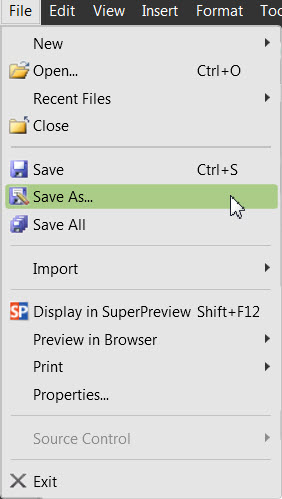
Make sure that you are saving your page in the correct Web and correct folder.
Step 5 - You should be familiar with how your pages look in Code View so take the time to look them over. You can also work in Split View and have both WYSYWYG and Code Views.
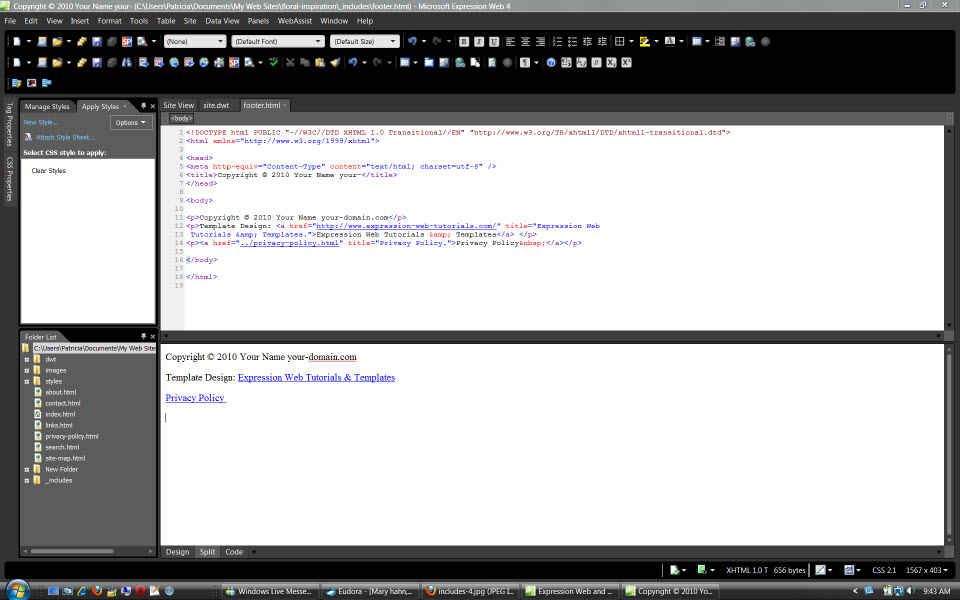
Insert include page
NOTE: How you insert the include page will depend on the version of Expression Web you are using.
![]() View Screenshot
Use the 'Standard Toolbar' to insert your
include page.
View Screenshot
Use the 'Standard Toolbar' to insert your
include page.
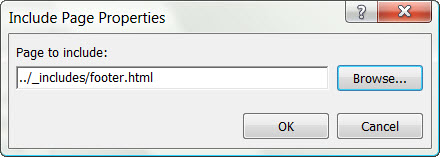
In the Include Page Properties Dialog box, browse to where your include page is, click OK and the page will be inserted.
Step 6 - Preview your page in Design View
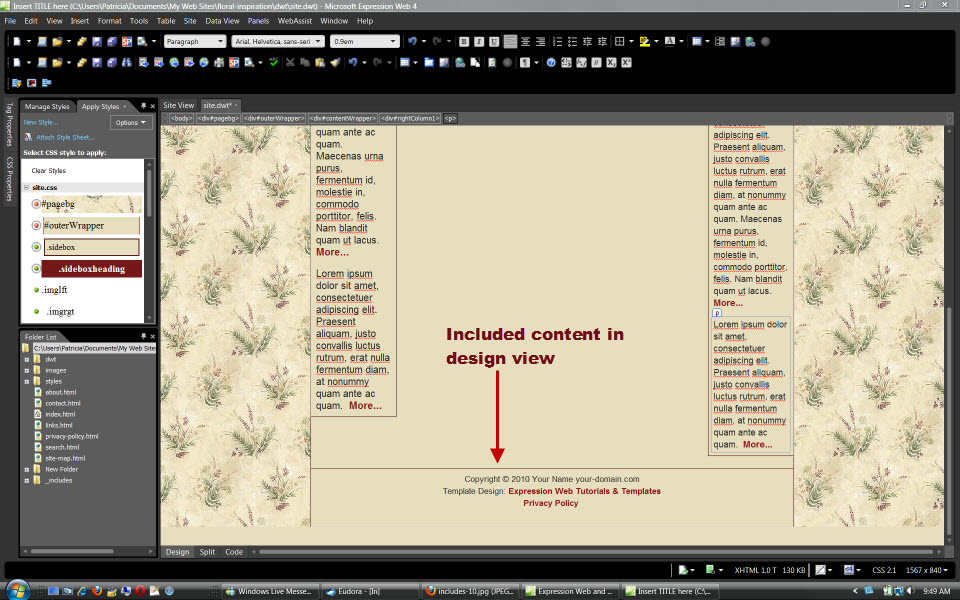
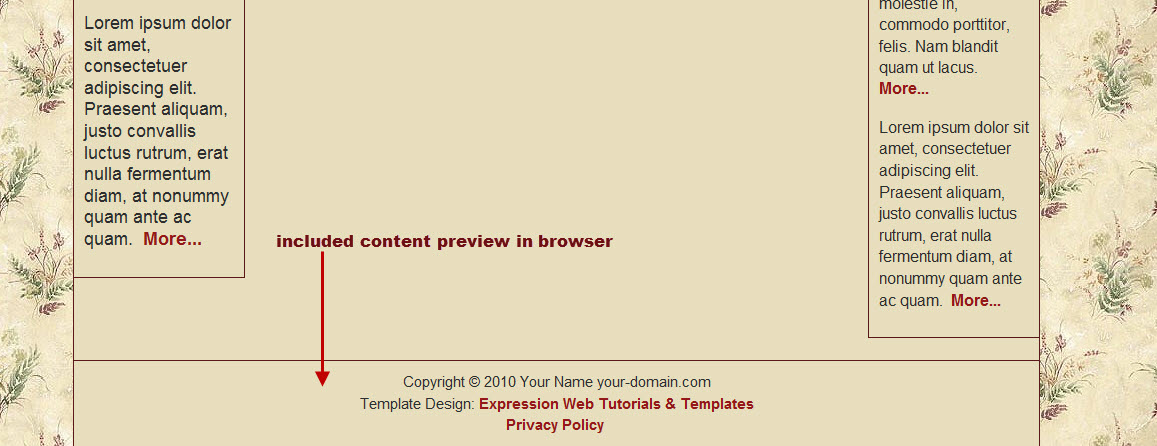
Step 7 - Preview your page in your browser to see how it renders.
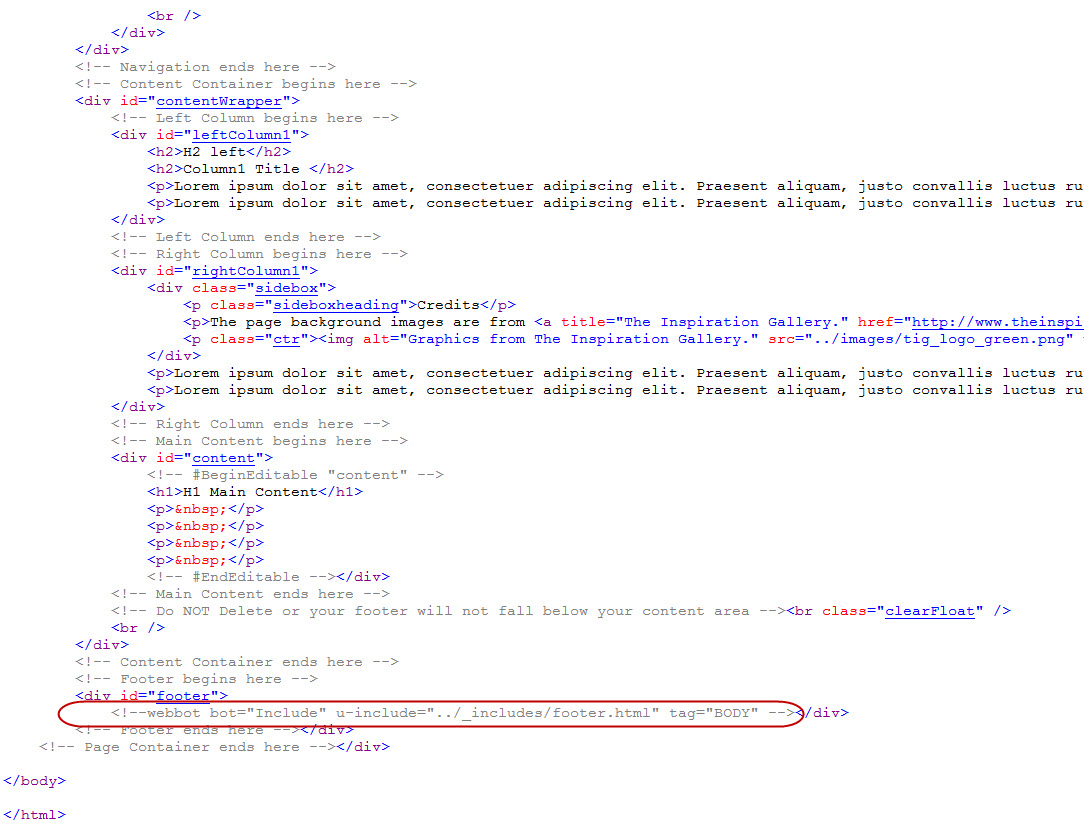
Step 8 - View page in Code View
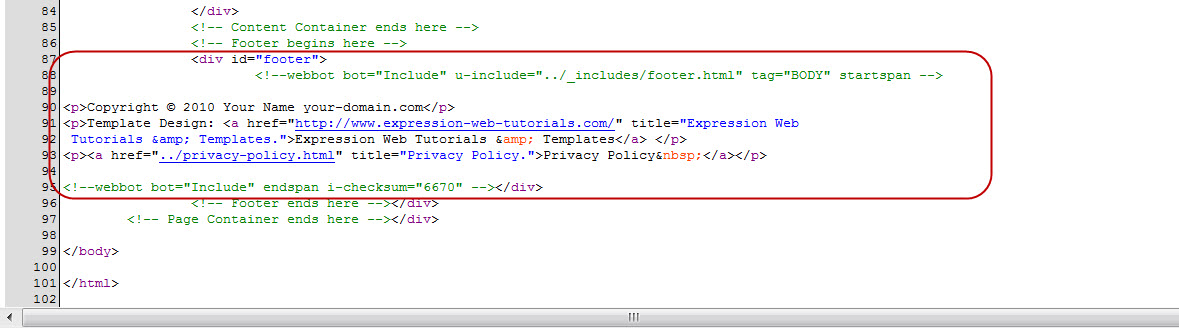
Step 9 - View Source Code - Open your page in Notepad or preview in your browser and view the Source Code. You will see not only the code for the include but the content of the include.
How Include Pages Work
Expression Web expects to find a full, standard web page at the file location you have specified so make sure the path is correct.
<!--webbot bot="Include" u-include="_Includes/topborder.html" -->
EW then extracts the content within the body tag of the include page.
If you have included styles with the head section of the include page, THEY WILL BE IGNORED by Expression Web. Styles for the include page MUST be part of your external style sheet or within the head section of the page the include is part of.
Server support is NOT required for EW Page Includes because they are resolved prior to publishing. The included content is already part of the page when it is published to the server, or Previewed In Browser.
EW will not display the include page in Code View, to prevent you from editing it. Any editing MUST be done on the actual include page. You can usually see the inserted include in Design View. You can also view the rendered page by selecting Preview in Browser. You will clearly see the included content following the webbot startspan declaration, and ended by the webbot endspan declaration.
<!--webbot bot="Include" u-include="_Includes/topborder.html"
tag="BODY"
startspan -->
<all of the source code from the <body>
section of the included page>
<!--webbot bot="Include" endspan i-checksum="0"
-->
startspan and endspan are the equivalent of the opening and closing tags for other HTML elements.
Troubleshooting Include Pages
If your include page does NOT display when you preview the page in your browser, check the following:
- path to the include file is correct
_Includes/topborder.html is NOT the same as _includes/topborder.html - Make sure that your include page is a full html document and that it has both an opening and closing html tag as well as an opening and closing body tag
- the styles for the include page are NOT in the head section of the include page
Additional Resources for Using Expression Web Includes -
Additional Notes:
- You can use css to style the included content but it won't show the styling until you have included it within the page.
- Changes to the page you are including MUST be made from within that page.
- If you update your included content and do NOT have FPSE (FrontPage Server Extensions) installed, you will need to upload ALL changed pages. If you Publish to a server where FPSE are installed, only the changed included content page will publish.

Copyright
© 2010 by Expression Web Tutorials - All Rights Reserved
Revised May 2013
Expression Web 4.0 Tutorials 2nd Edition from Install to Publish, a FREE EBook by Pat Geary.

Expression Web has a group on Facebook. If you are a FB user, come join us.

Disclosure: This is an affiliate link, which means that if you visit Bluehost.com through this link and purchase this product, I’ll get a commission.

April 2007 - April 2013