Create and Style a Data Table
First, make sure that you have set up Expression Web using Tina Clarke's FREE EBook Setting Up Expression Web 3.0 or 4.0
Step 1: In Design view, place the insertion point where you want to insert the table. Do the following:
- On the Menu > Table > Insert Table.
NOTE: Do NOT Choose Layout Table
NOTE: With Expression Web 4.0, Layout Table is NOT an option.

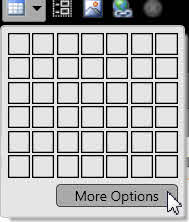
- On the Common or Standard toolbar, click
the Insert Table button, then use your pointer to draw the table; OR Click More
Options
- Set the properties that you want.
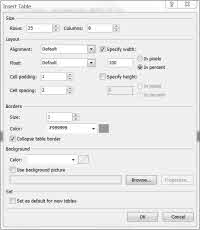
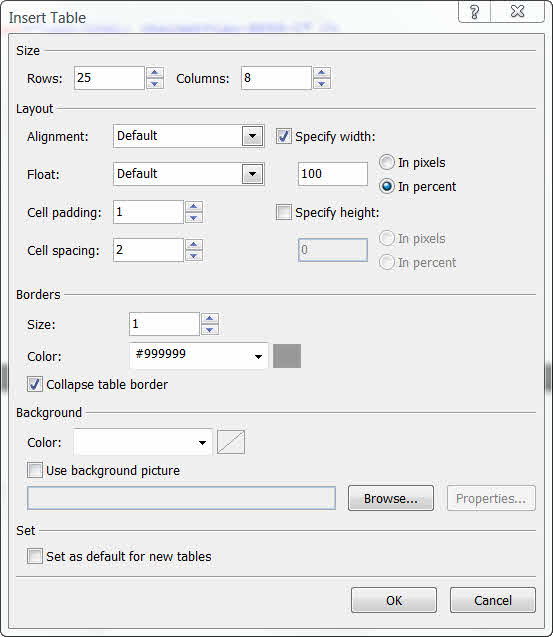
Click thumbnail for a larger image
Example Settings in Bold
Size: Set the number of Rows and Columns in your table. Rows: 25: Columns: 8.
Alignment: Set the horizontal alignment of your table. Default
Float: Set the floating property of your table. Default
Specify width: Set the width of your table. 100%
Specify height: Set the height of your table. Leave Blank
Cell padding: Set the padding between cells. 1
Cell spacing: Set the spacing within cells. 2
Borders: Set the size and color of your table borders. 1 #999999 Tick: Collapse Table Border.
Background: Set the color or background picture you want as your table background.
The following code was added to the head section of my page:
<style type="text/css"> .style1 { width: 100%; border-collapse: collapse; border: 1px solid #999999; } </style>
Step 2: On the Manage Styles task panel, > Right Click the
just created style1. > Choose rename class "style1."
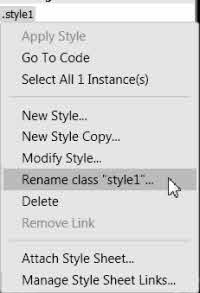
In the Rename Class Dialog Box, Type "tombstones" or whatever you want to name the class. Make sure Rename class references in this page is ticked.
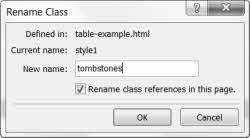
You will see that the class has been renamed "tombstones," and the code for your table changed to:
<table class="tombstones">
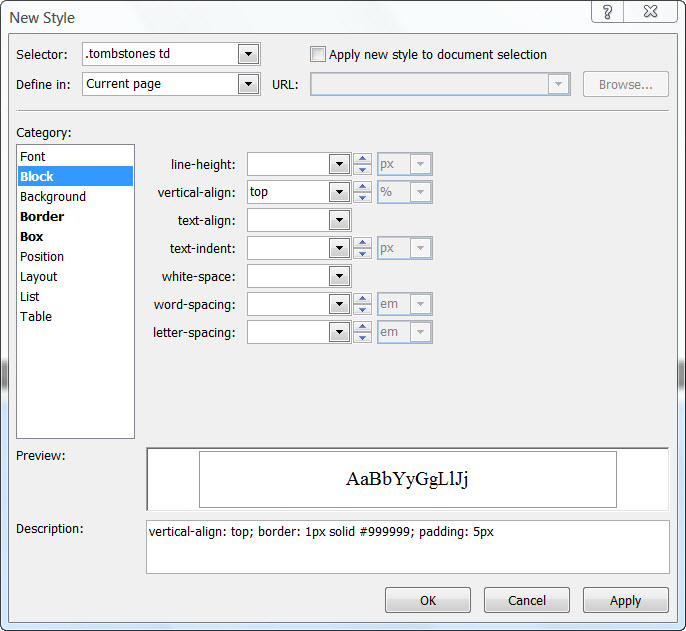
Step 3: From the Manage or Apply Styles task panel, > Click New Style.
In the New Style dialog box, type or select the following:
Click thumbnail for larger image
Selector: Type .tombstone td
Define In: Current Page
Block: vertical-align: top
Border: sold ipx #999999
Box: padding 5px (untick: Same for all if you do NOT want the same
amount of padding in the cells.
You will see the style being created in the display area.
Click OK, and the styles will be applied to the table cells.
Step 4: If you want the top row to be a header row, > select the first row of data cells. > Right click > Cell Properties > Tick: header cell. > Click OK.
You can create a new style for the header row by using the same method as described above, OR copy and paste the style you created for:
.tombstones td { vertical-align: top; border: 1px solid #999999; padding: 5px; }
changing the td to th. The default style will be centered and bold
.tombstones th { vertical-align: top; border: 1px solid #999999; padding: 5px; }
Style an Already Created Data Table
If you have a data table already created, you can easily add styling to it.
Step 1: Open the page with the table you wish to style in Expression Web.
From the Quick Tag Selector, > Click <table>.
From the Manage or Apply Styles task panel, > Click New Style.
In the New Style dialog box, type or select the following:
Selector: Type .prisoners
Define in: Current Page
Border: solid 1px #999999
Box: Uncheck: Margins Same for All Top: 10px Bottom: 10 px
(this will add some spacing between the top and bottom of your table from other
text.
Position: width: 100%
Make sure you have ticked Apply Style to document selection
The following code will be added to the head section of your page
<style type="text/css"> .prisoners { border: 1px solid #999999; width: 100%; border-collapse: collapse; margin-top: 10px; margin-bottom: 10px; } </style>
Step 3: From the Manage or Apply Styles task panel, > Click New Style.
In the New Style dialog box, type or select the following:
Selector: Type .prisoners td
Define In: Current Page
Block: vertical-align: top
Border: sold ipx #999999
Box: padding 5px (untick: Same for all if you do NOT want the same
amount of padding in the cells.
You will see the style being created in the display area.
Click OK, and the styles will be applied to the table cells.
Step 4: If you want the top row to be a header row > select the first row of data cells, > right click > Cell Properties > Tick: header cell > Click OK.
You can create a new style for the header row by using the same method as described above OR copy and paste the style you created for:
.prisoners td { vertical-align: top; border: 1px solid #999999; padding: 5px; }
changing the td to th. The default style will be centered and bold
.prisoners th { vertical-align: top; border: 1px solid #999999; padding: 5px; }
Example: Fully Styled Data Table
Points to Remember in Working With Tables
- Consider the size of your table. Remember, not everyone has a high speed Internet connection. If you have a very large table, consider breaking it into smaller tables.
- If you want the table centered on the page, add auto for the left and right margins.
- If you will be using the same styling on more than one table, move the table styles to an external style sheet where you can use them over and over again.
- Using this method, your table code remains clean and your styles can be modified much more easily.
- You can add other style rules to the classes like font-size:small.
- Make your tables accessible
Sample Styled Accessible Table Using External Style Sheet

Copyright © January 2010 Pat Geary of
Expression Web Tutorials and Templates, All Rights Reserved
Expression Web 4.0 Tutorials 2nd Edition from Install to Publish, a FREE EBook by Pat Geary.

Expression Web has a group on Facebook. If you are a FB user, come join us.

Disclosure: This is an affiliate link, which means that if you visit Bluehost.com through this link and purchase this product, I’ll get a commission.

April 2007 - April 2013