Interactive Buttons in Expression Web
Microsoft Expression Web makes it easy for you to add buttons to your Web pages that resemble buttons you design using an advanced graphics-editing tool. The Interactive Button Wizard was available in FrontPage 2003 and is available in Expression Web. Unfortunately in generating the buttons, there is a large amount of code also generated. The interactive buttons also require javascript to work.
You can still create the button look with a great deal less code. Using an earlier version of my site menu as an example, to generate the nine link buttons that would be needed, 27 graphic images were generated as well as a great deal of code.
View Screenshot of buttons generated
View Screenshot of code generated
View actual page (Use view source to view the actual source code.)
A far better solution would be to design your menu using CSS. You could still use the buttons generated by the wizard, and reduce your code substantially.
Create your menu
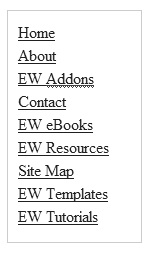
- Step 1: Start with a simple un-ordered/bulleted list of your menu items hyperlinked to the correct page.
- File > New > Page OR Select the New Page Icon

- Select Unordered list from the dropdown menu
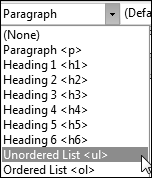
OR the unordered list icon
- Type in your list of menu items and create hyperlinks to the appropriate page
Your list should look like what you see below. View the list code
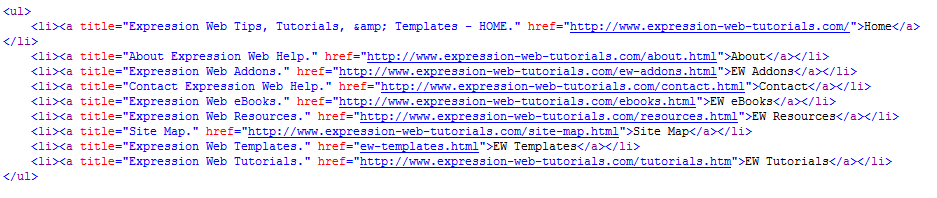
Step 2: You will need to create a container for your navigation menu. You can surround your list menu with a <div> tag.
- Using the quick tag selector > click the <ul> to highlight the list > use the drop down arrow > select wrap tag
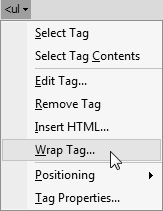
- Type div in the dialogue box > click the check mark. Your list is now surrounded by the <div> tags View the code

Step 3: Now you need to add some style rules for the navigation container
- Select the <div> tag from the Quick Tag > Using the Manage Styles Task Pane > Select New Style
- Make sure Apply new style to document selection is checked
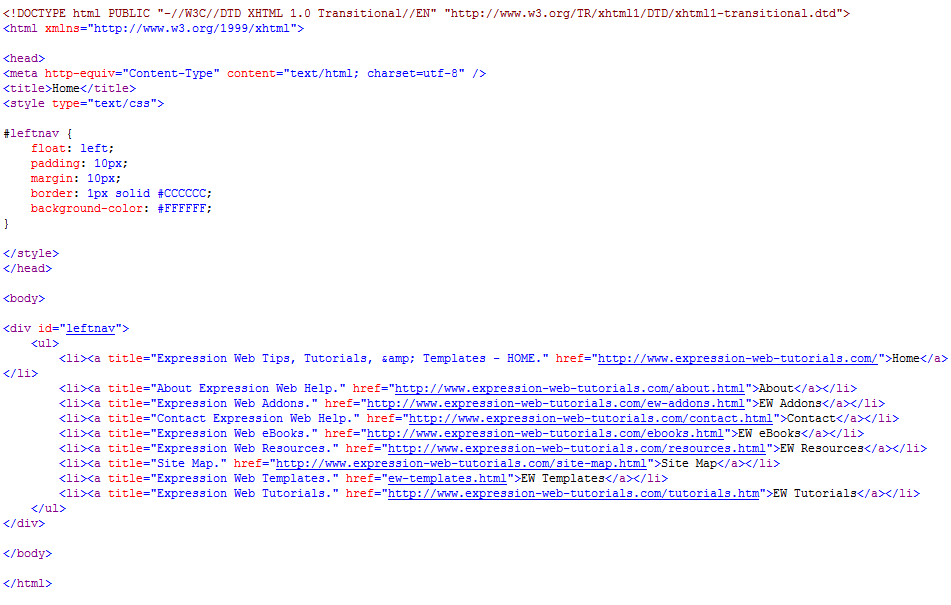
- Type the following :
#leftnav { float: left; padding: 10px; margin: 10px; border: 1px solid #CCCCCC; background-color: #FFFFFF; width: 180px; font-size: .85em; }
View Screenshot - Click OK
- The style is created and applied to the <div> tag surrounding your menu list View the code
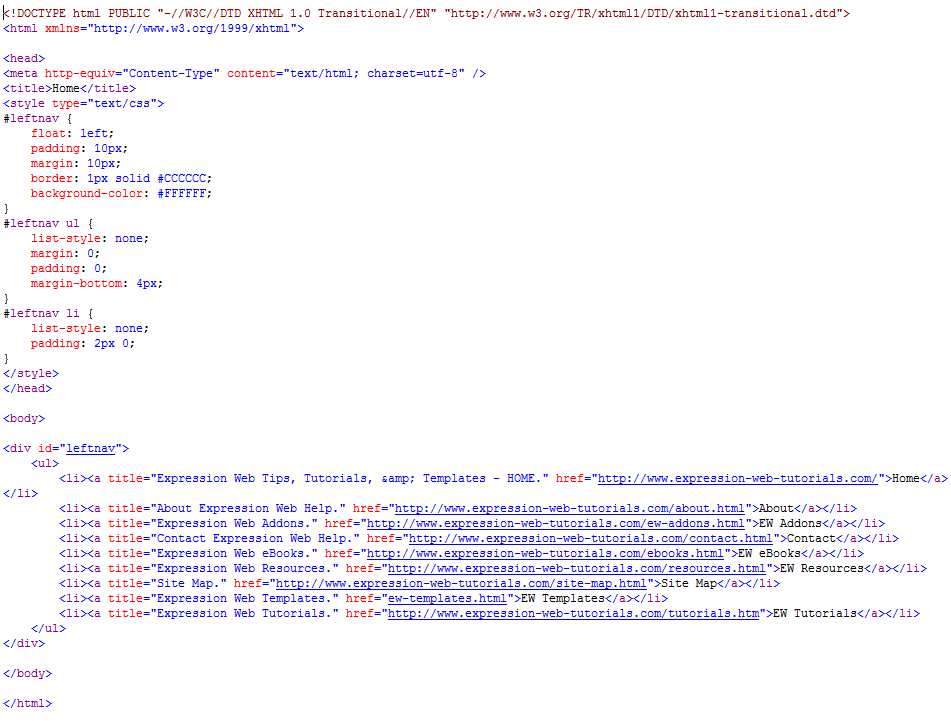
Step 4: Next you need to add the style rules for your list. Using the Manage Styles Task Pane > New Style > Type the following
#leftnav ul { list-style: none; margin: 0; padding: 0; margin-bottom: 4px; }
#leftnav li { list-style: none; padding: 2px 0; }
The menu now looks the the above View the Code
Step 6: If you want to use the same graphic images as created with the Interactive Button Wizard, you will need to create BLANK button images. You will also need to make sure they are wide enough to contain the text for your links.
- File > New > Page OR Select the New Page Icon
- In Design view place the cursor where you want to add the button on the new page
- On the Insert menu > click Interactive Button.
- On the Button tab, in the Buttons list > click a button style. NOTE: The sample button uses Embossed rectangle 6
- In the Text box, delete 'Button Text'.
- In the Image tab, specify the size of the images created and whether to create images for the various button states. I used 200px
- Save the three images and note their file names
Step 7: Next comes the styling for the hyperlinks. Again using the Manage Styles Task Pane > New Style > Type the following into the New Style Dialogue Box
#leftnav ul li a:link { background-position: center top; display: block; color: #3A1D00; padding: 4px; text-decoration: none; background-image: url('ia-buttons/buttonB3.jpg'); border: 1px solid #864E29; margin-top: 2px; background-repeat: no-repeat; }
#leftnav a:visited { background-position: center top; color: #000; background-color: #F5ECDD; border: 1px solid; border: 1px solid #A79780; background-image: url('ia-buttons/buttonB3.jpg'); display: block; background-repeat: no-repeat; padding: 4px; text-decoration:none; }
#leftnav a:hover { background-position: center top; color: #000; background-color: #F5ECDD; border: 1px solid; border: 1px solid #A79780; background-image: url('ia-buttons/buttonB4.jpg'); display: block; background-repeat: no-repeat; padding: 4px; }
#leftnav a:active { background-position: center top; color: #000; background-color: #F5ECDD; border: 1px solid; border: 1px solid #A79780; background-image: url('ia-buttons/buttonB5.jpg'); display: block; background-repeat: no-repeat; padding: 4px; }
NOTE: For the images you are using are the new images you just created. Adjust the path to the images on your computer. View the page.
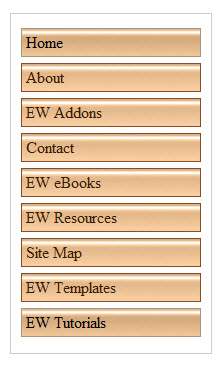
Step 8: Now that you have your menu looking like you want, you can move the styles you have created into your external style sheet. You have the same look as using the Interactive Button Wizard but with far less code.
Expression Web 4.0 Tutorials 2nd Edition from Install to Publish, a FREE EBook by Pat Geary.

Expression Web has a group on Facebook. If you are a FB user, come join us.

Disclosure: This is an affiliate link, which means that if you visit Bluehost.com through this link and purchase this product, I’ll get a commission.

April 2007 - April 2013